
Let me start off by saying I am not a DIY kind of person. I really don't have tons of handyman type skills. I've never held a saw, and the only power tool I'm familiar with is a hot glue gun.
NOW THAT I GOT THAT OFF MY CHEST, LET'S TALK PAINT!
I am sharing my experience with you because although I have minimal DIY skills, I think you (and I) can both learn from it. Sound good?
OK, so I decided I'm going to tackle painting the stairwell... but..
HOW THE HECK DO I PAINT THE TWO-STORY WALL ON MY STAIRWELL?
That was the biggest question I had because obvi I can't use a ladder due to the fact that I can't set it open on the stairs. I had the idea of building a sort of scaffold, but YEAH RIGHT, REALLY?! Constructing anything was out of the question for me. So I decided to use a extension pole with a roller at the end. (wow).
This is the one I got. FYI, when getting an extension pole, make sure the tip is heavy-duty because that part can break with a lot of pressure.
 |
| via Lowes Home Improvement |
 |
| FYI, the pole in this pic is the first one I bought that broke right away |
The extendable pole will allow me to reach to the top of the wall without using a ladder, but...
HOW DO I PAINT THE EDGE OF THE TWO-STORY WALL WITHOUT GETTING PAINT ON THE CEILING?
While searching for my answer on the internet, I came across this handy little tool called "Shur-Line Paint Edger". I decided to give this little tool a shot.
 |
| via Lowes Home Improvement |
OK, NOW FOR THE PAINT!
I got regular paint and primer for the walls, but I wanted special paint for the banisters and balusters. It needed to be durable, scrubbable paint that can stand up to dirty little child hands. I went to visit my neighborhood Sherwin Williams to get a can of one of their best paints: "Emerald Interior Acrylic Latex Paint" and let me tell you... I AM IMPRESSED! More on that later.
Before painting, of course, we must prep! (the annoying part).
This video helped me prep for painting my stairwell. I wanted to make sure that I didn't get any paint on my carpet so I felt it was very important. P.S. this Idaho painter guy has mad skills.
Here is some of my prep work. This picture was taken after the walls were painted and I moved on to the banister.


I also wanted to find out how to use my handy edger, so here are a couple of videos that gave me a few tips on using it properly.
So, that Shur-Line Edger was definitely handy but there's a method to use it. You can't just dip it in paint and throw the edger on your wall and expect to get a clean edge. Here's a few tips from me to you.
- don't put too much paint on the pad. If there's too much paint and you push down too hard, it can overflow onto the ceiling.
- Apply very little pressure. Don't push too hard.
- Do small sections at a time.
- When applying the paint edger to the wall, start a bit below the edge and push up. This made the biggest difference!
- Make sure you push back the wheels before dipping the edger into the paint. If the wheels get paint, you'll have a mark on your ceiling.
- Don't worry if you do get paint on the wheels of the edger. Just wipe them off and let the wheels dry.
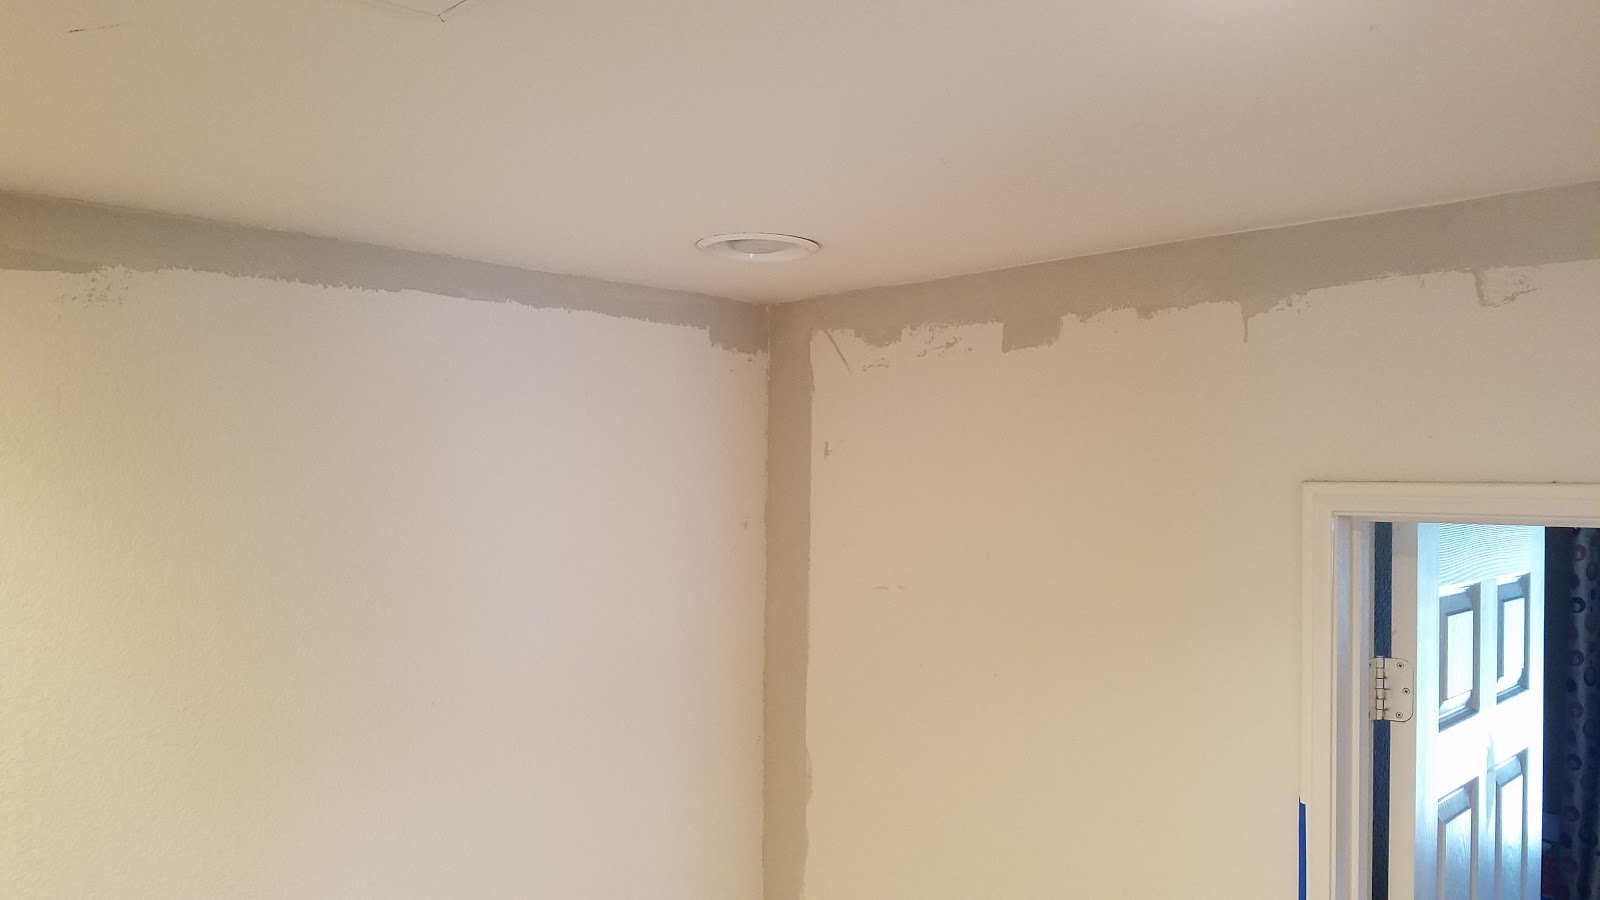
Once I got the hang of it, using the Shur-Line paint edger was a breeze. No need for blue tape! I got a nice, clean edge without the need for blue tape! Only thing is: the paint doesn't get 100% to the edge of the wall due to (I believe) the wheels. But, you can't really tell from far and plus, for me it was the best way to get a clean edge without using a ladder or tape.

By the way, Shur-Line also makes a tool to paint the corners. I used that too and it was great.
 |
| via Lowes Home Improvement |
Once my walls were painted and dry, I went on to paint the banister and balusters.
Painting The Banister and Balusters
I was so intimidated by painting the banister and balusters myself, but I'm so glad I didn't pay someone to do it! I will definitely do it again when I need to. I decided to paint the banister and balusters two different colors so I did have to do a bit more prep-work.
 |
| I had nightmares about blue tape for days. P.s. don't you hate that golden wood tone? |
The balusters I painted "Pure White" by Sherwin Williams and the banister I painted the same color as the wall, which is "Ghost Pines" by Sherwin Williams. Both the banister and balusters' paint finish is semi-gloss.
The reason I painted the banister (or handrail) the same color as the wall is because I wanted the handrail to "disappear". I don't like the way the handrail zig-zags across the wall. Now, it's not as noticeable :) and plus, I really like the two-toned look on a banister.
Painting the handrail is a cinch. Just clean them well, sand them, protect the wall behind it and you're ready to paint.
The paint, In my opinion, is what made the difference. I got a really smooth finish with no major noticeable brush strokes left behind. I used "Emerald Interior Acrylic Latex Paint" by Sherwin Williams. The paint had great coverage, dried quick, and dried HARD. It also dried very smooth which I really liked. I did use a special paintbrush that was made for this type of paint. I have never invested in a good paint brush. I always buy the cheap ones. I didn't want a bunch of noticeable brush strokes on my banister so I splurged. I don't remember which paint brush I used, but I do remember it was the "Purdy" brand.
I am super happy with the results and I love how clean my stairwell and hallway look. I even added a couple of plants to liven up the space. There's nothing more satisfying than admiring the end result of your own work AND saving money by doing it yourself!
Here are a couple of "before" pics. (Don't judge the ugly ones lol)

Here are a couple of "before" pics. (Don't judge the ugly ones lol)


And here are the "after" pics! So much better!


 |
| get your own little wall vase just like this one HERE! |
 |
| Like my plater? Find a similar one HERE! |


If you're on the fence about hiring someone to paint your stairwell, then maybe this post will help you make your decision. I know for me, I definitely don't regret it. And if you need more tips on painting, check out my blog post titled "Painting For Beginners". Just click HERE to read it.
If you're new here and feel like you'd love some decorating tips then go ahead and subscribe to my blog!
Till next time!
-Oscar
No comments:
Post a Comment